Metallic And Flake Floors

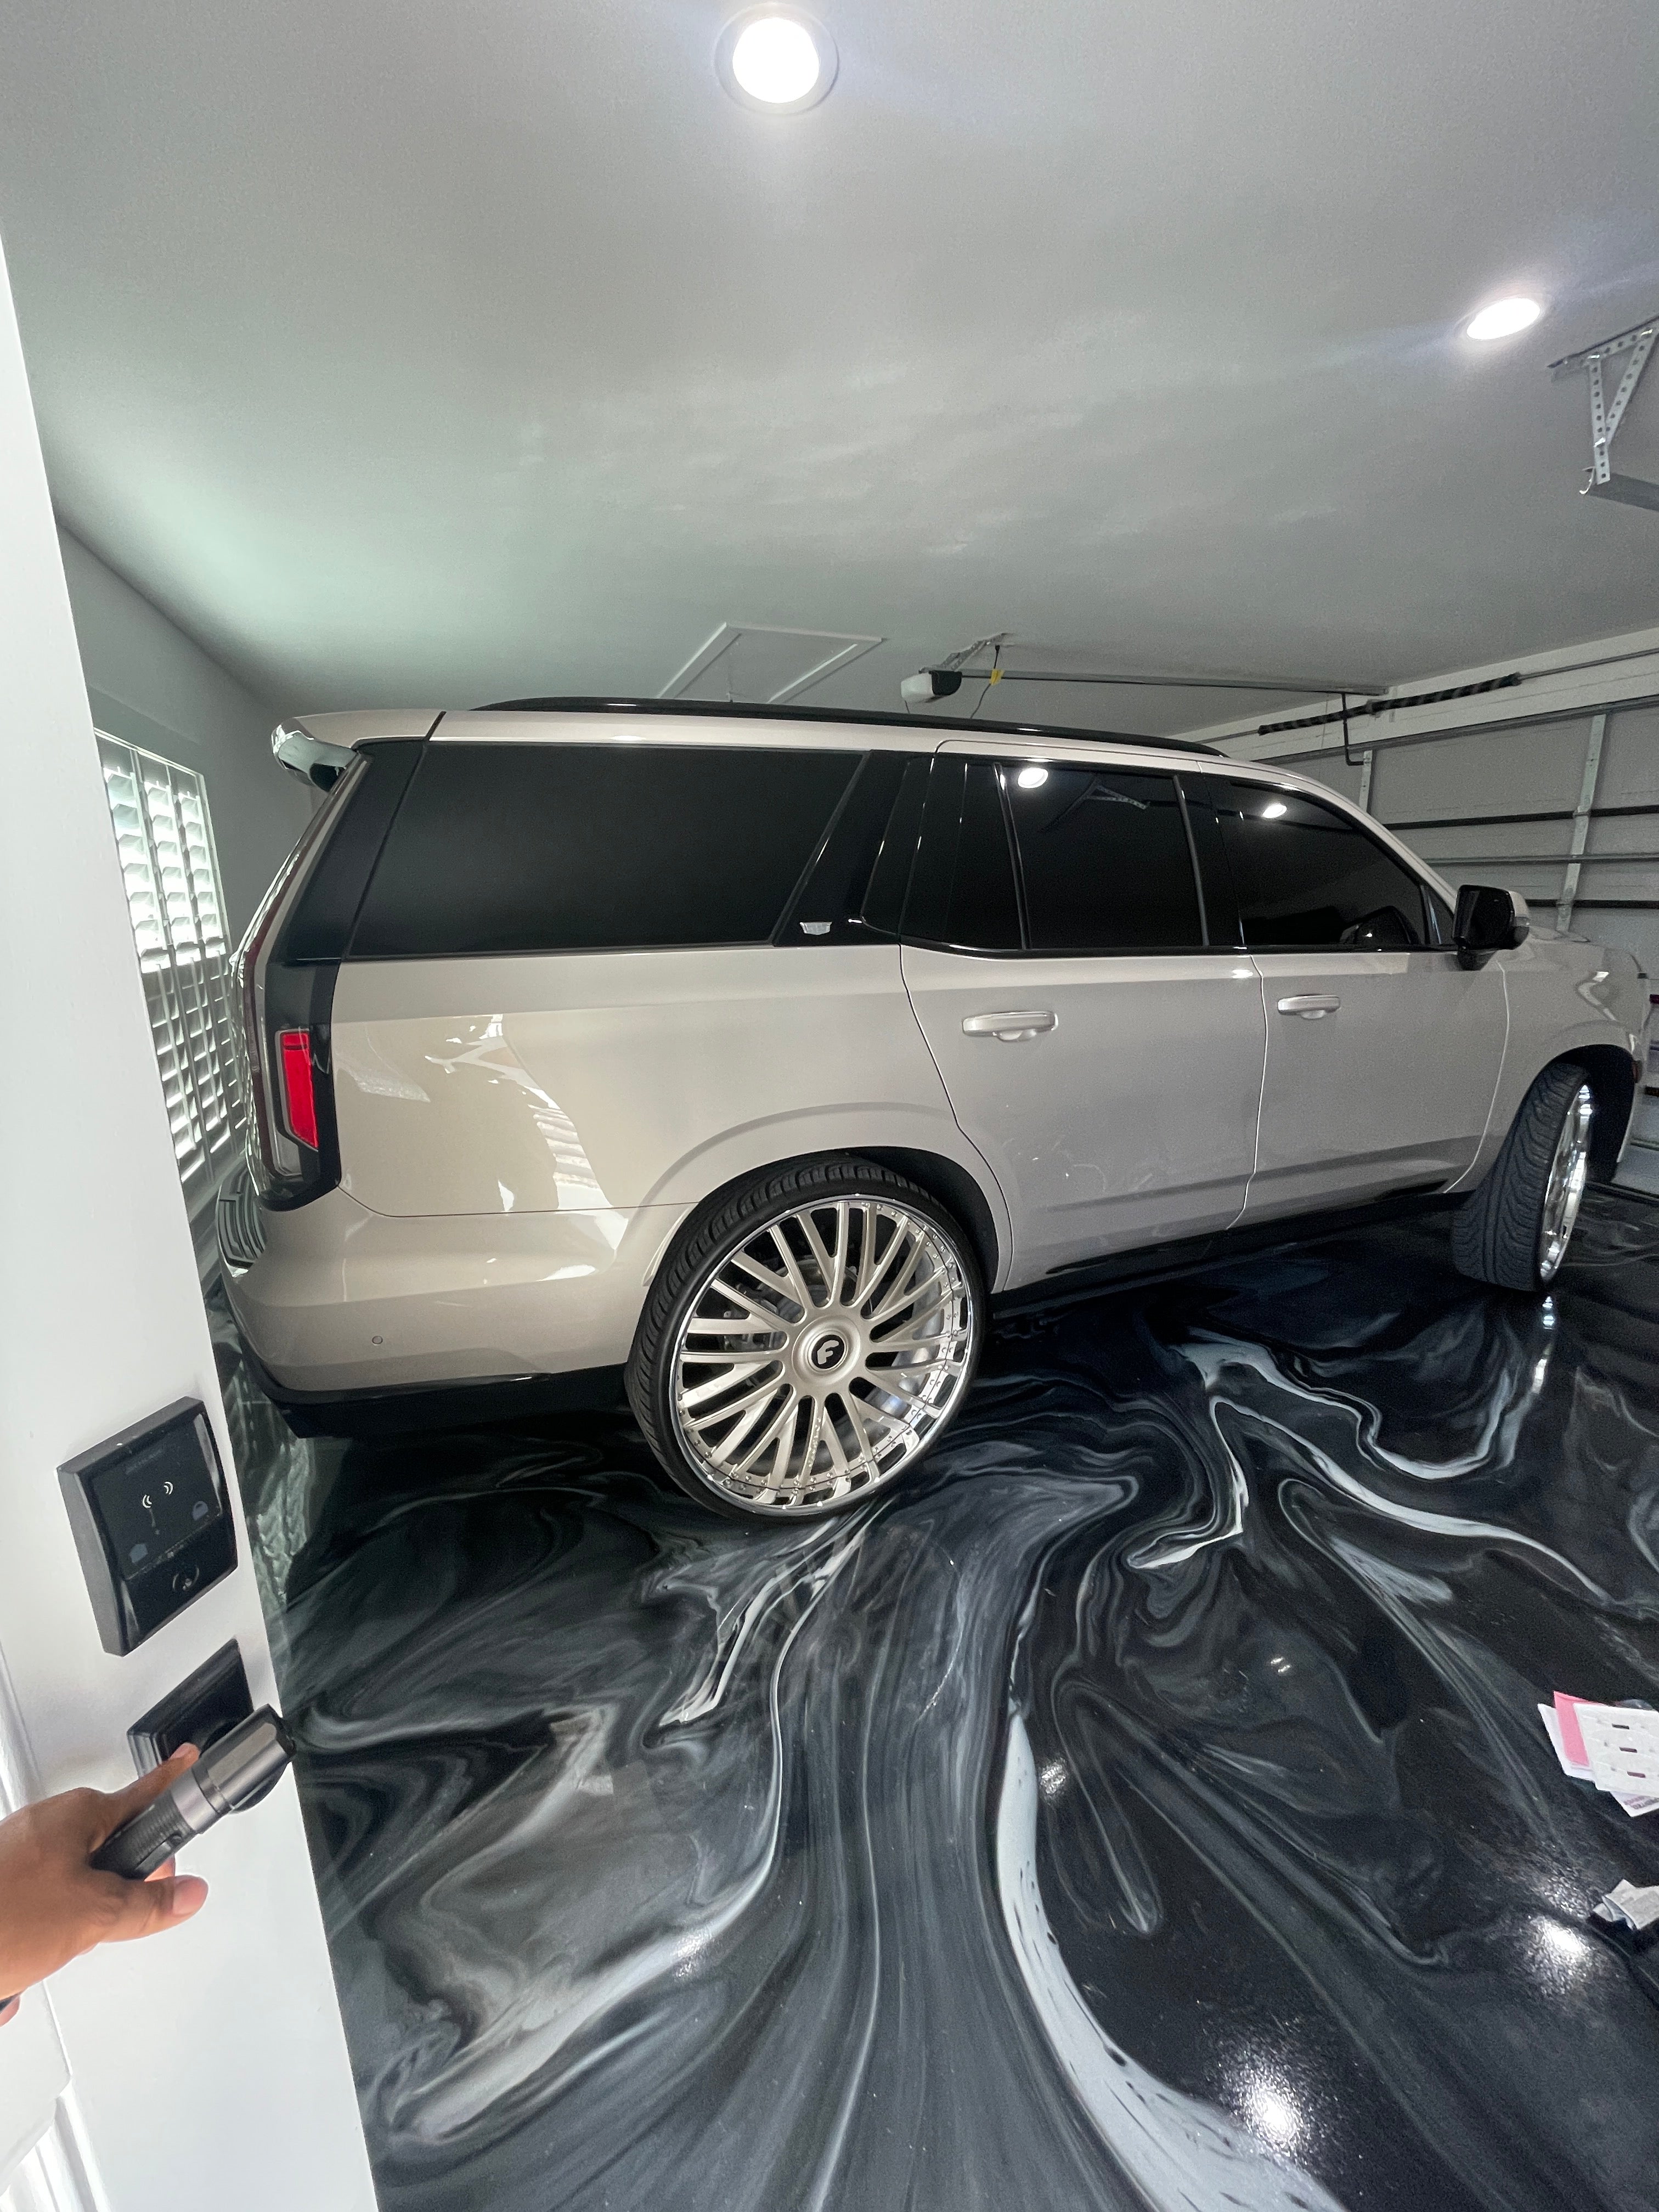
Epoxy floors are more than just painting your floor. The secret of their longevity lays in the correct floor preparation. Without it, your floor is guaranteed to peel or lift soon after installation and this is why many DIY garage floor projects fail.

we follow a well-detailed floor preparation to ensure your new epoxy floor stays in place and works the way it is supposed to.

  • 1. Moisture Inspection
    We start every floor project by inspecting the floor for moisture issues. This will determine the right product to use.

  • 2. Concrete Grinding
    Our floor preparation starts with mechanically grinding the concrete floor to remove any traces of old paint, glue, stains, dirt and oils. This will also open the concrete pores and help the epoxy bond with the floor.

  • 3. Repair and Prime
    Next, we will repair any chips, holes and cracks and prime it. This ensures the structural integrity of the floor as well as the epoxy floor. After that, we will sand the floor again and get it ready for the exciting part.

  • 4. Design and Application
    The last stage of our floor installation is the design and application of your new epoxy floor. We use different types of application techniques to create floors that are truly one of a kind.

  • 5. Seal and Protect
    Once the floor is ready, we will seal it with a protective, UV stable light reflective top coat that will protect your floor from damage, stains and wear and tear.

Get Started By Filling Out The Form Below

Contact form